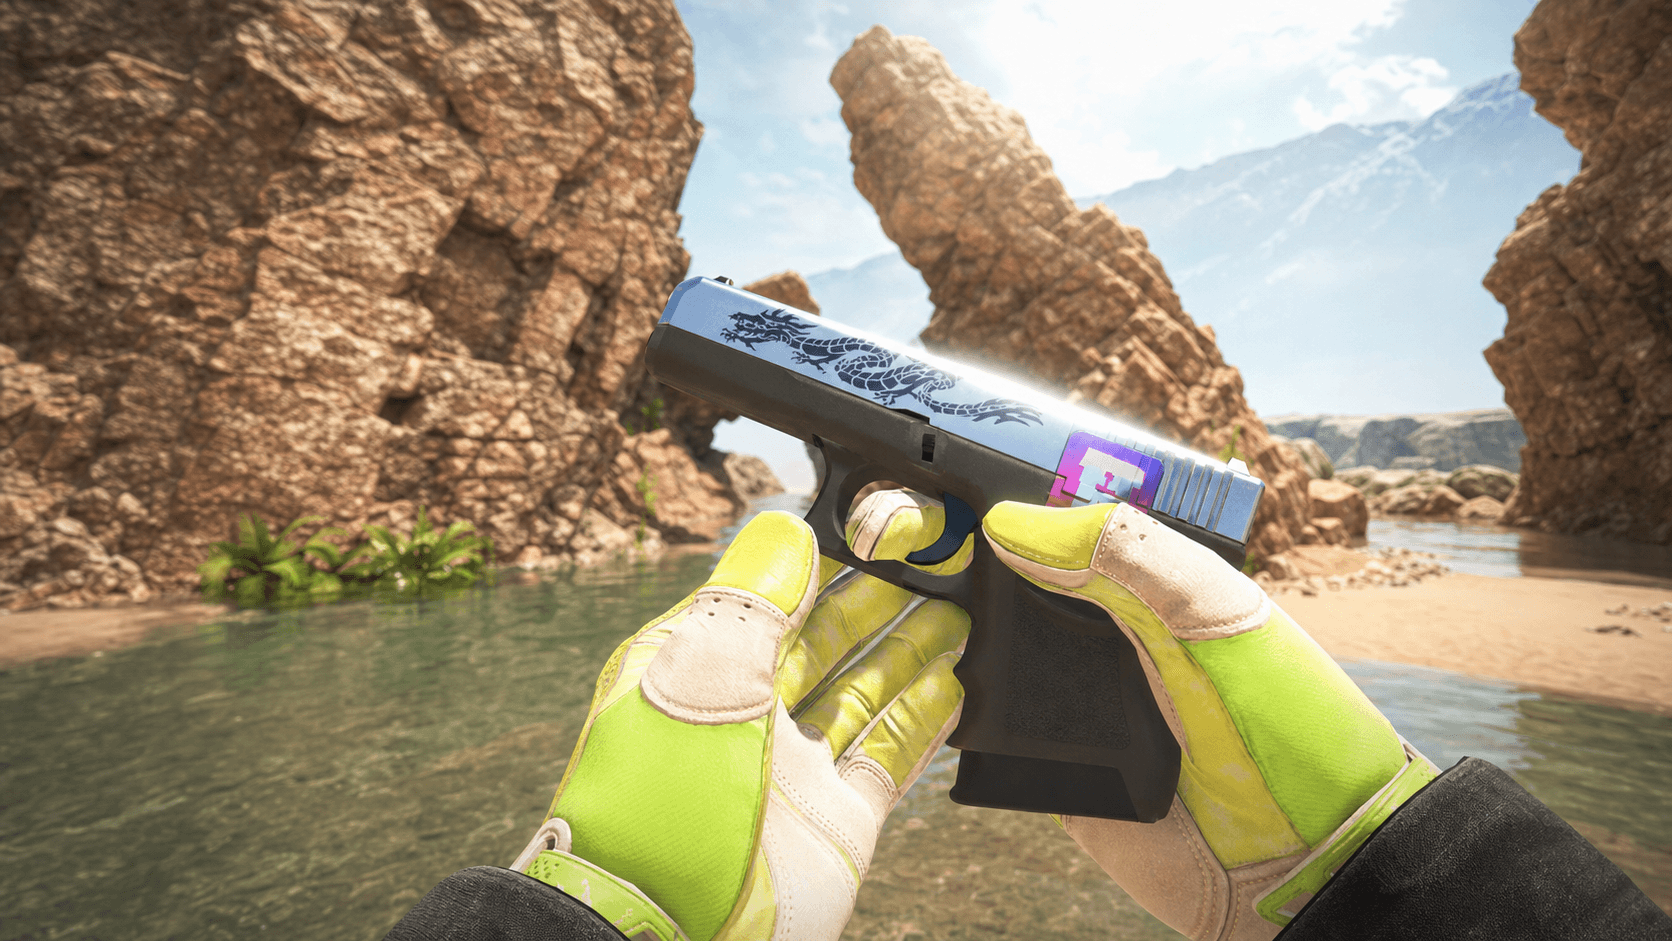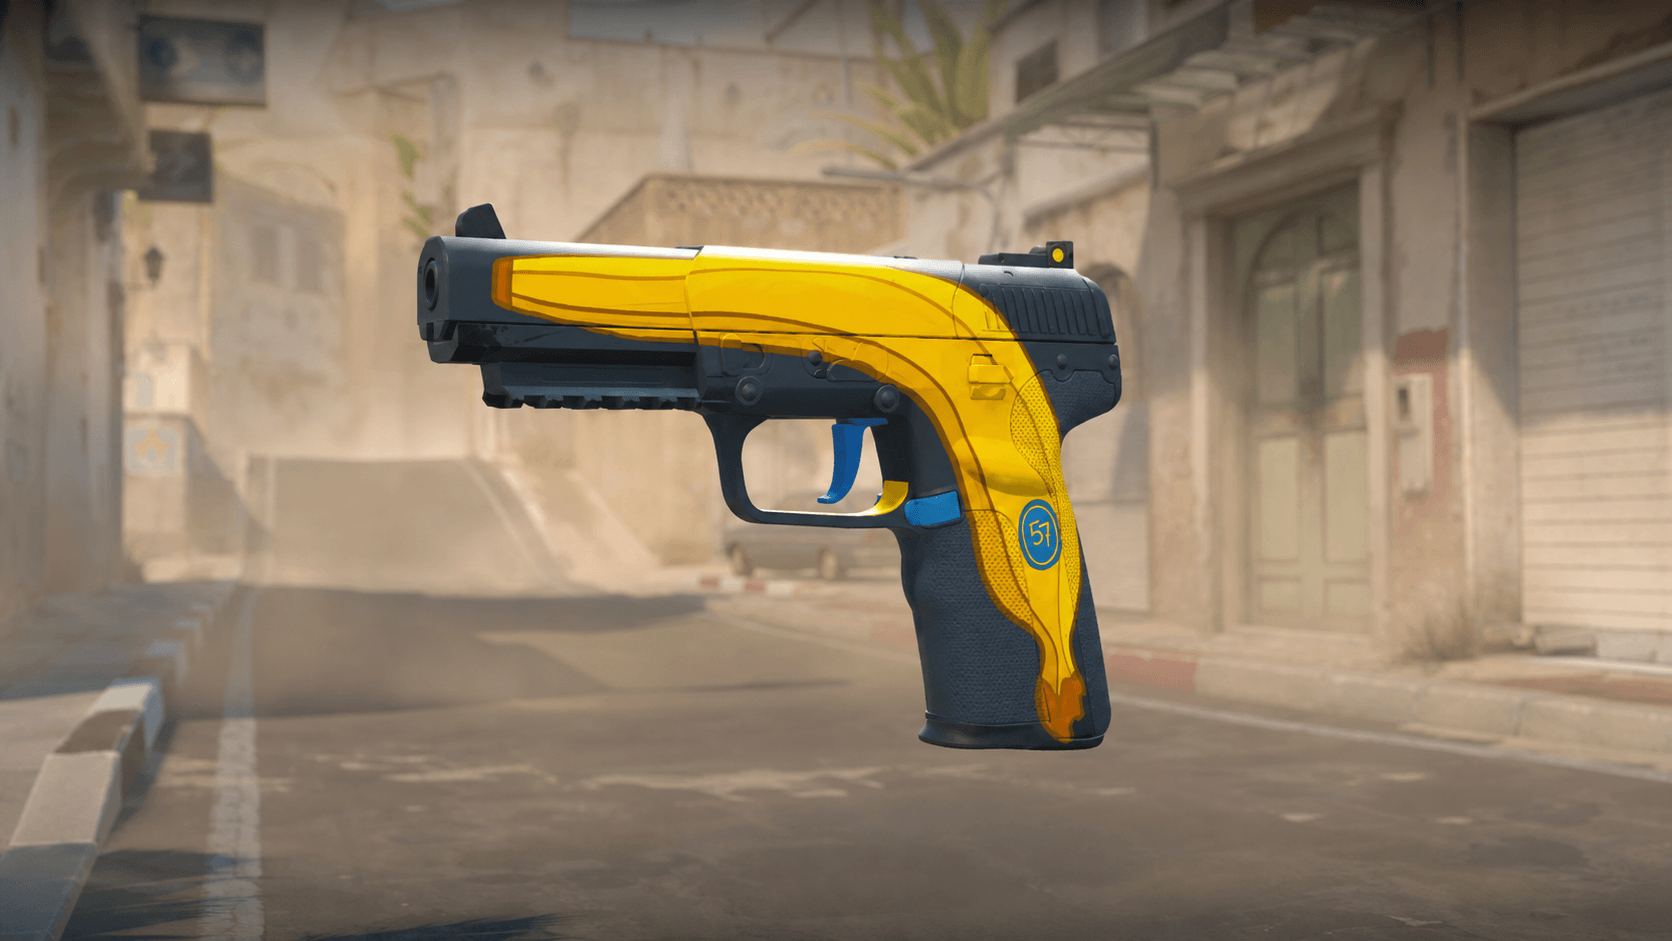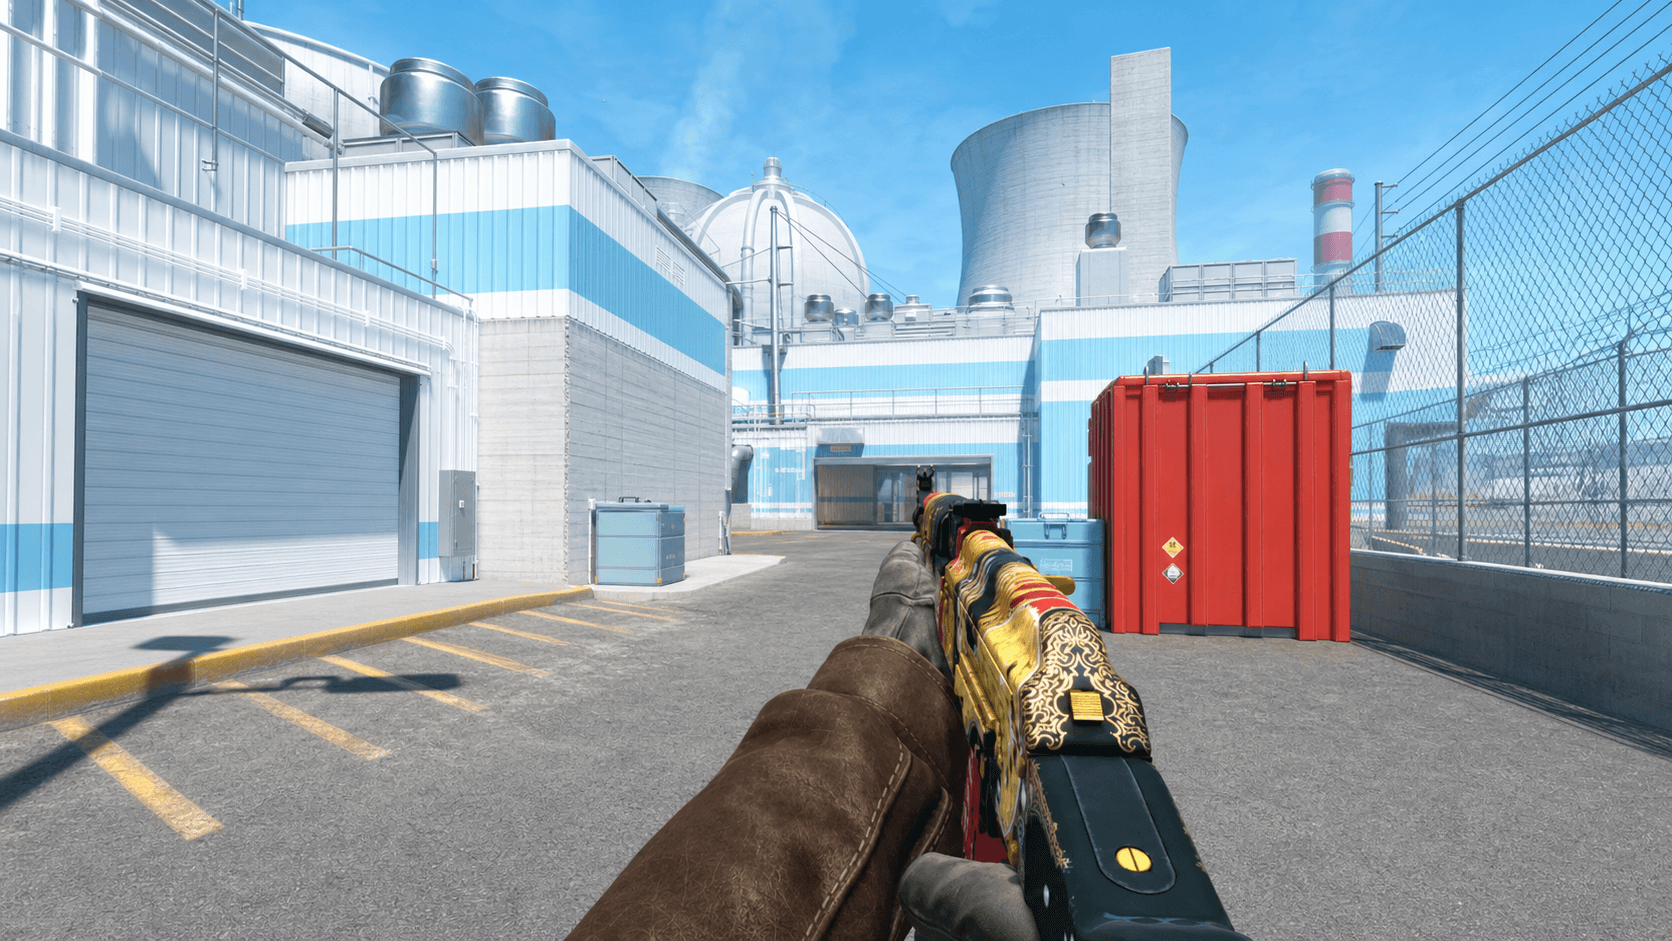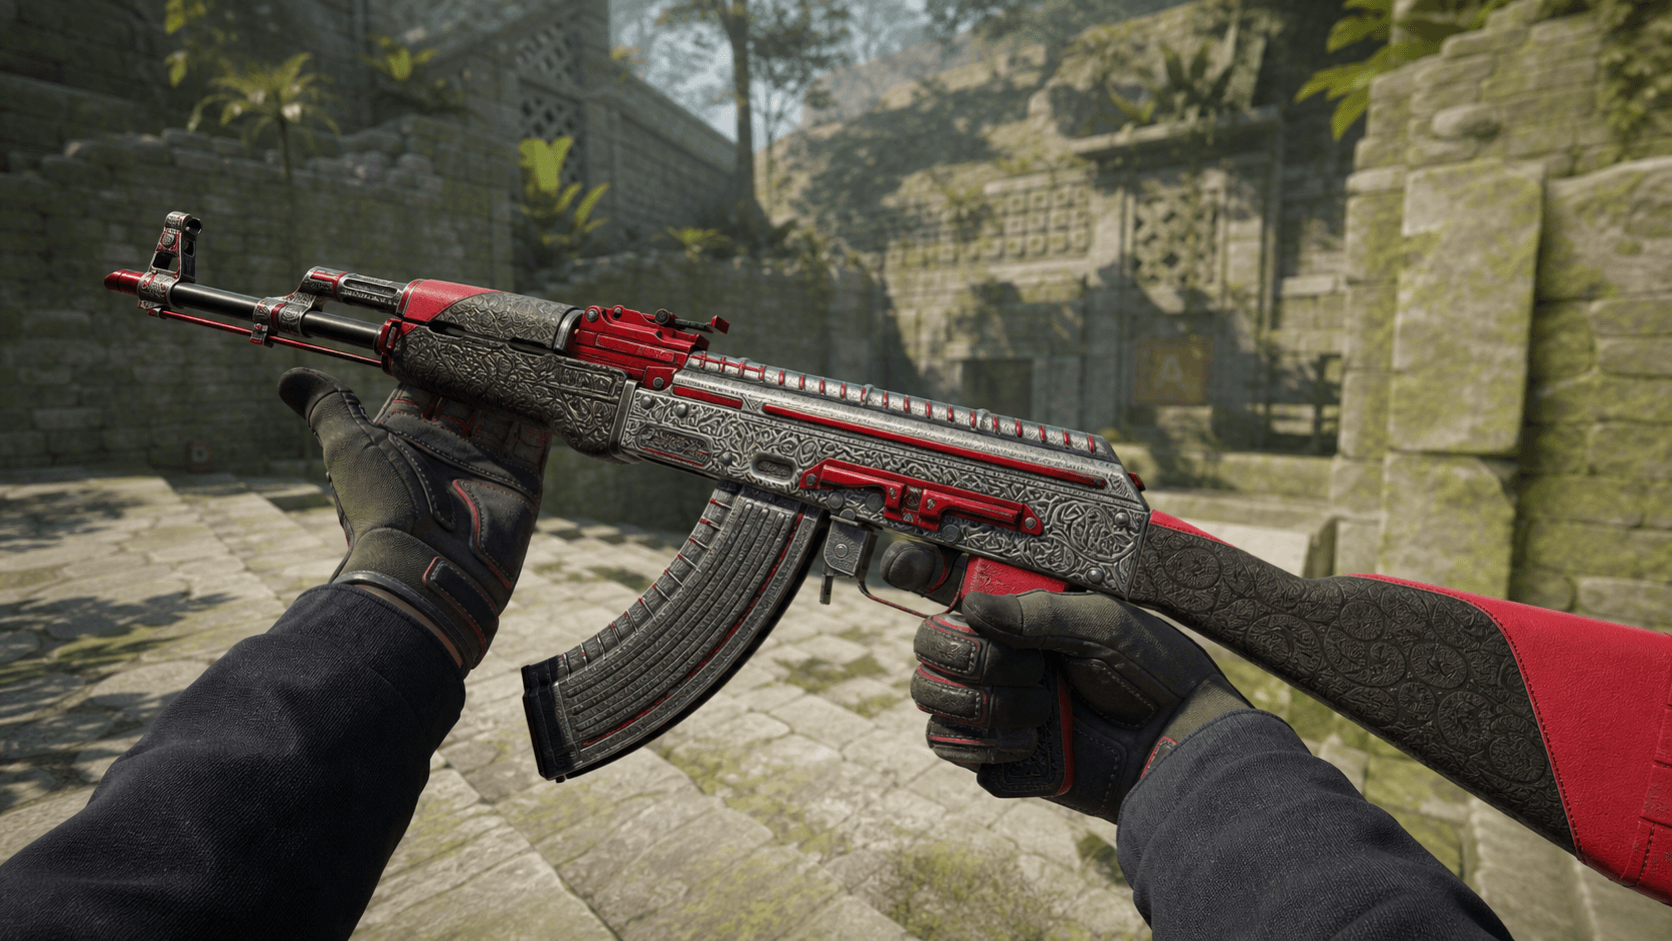
Testing skins in the game before buying them is extremely useful in CS2, especially for knives, gloves, sticker crafts, and expensive rifle skins. A market image is not always enough; you can understand how a skin looks in hand, how its color responds to light, where its float marks appear, and how its animations feel much more clearly in the game.
That is exactly why skin inspect servers are used. You can join a trusted community server and call up any skin combination you want with !g, !i, or similar commands, testing it through the real in-game camera before making a purchase.
What Is a Skin Inspect Server?
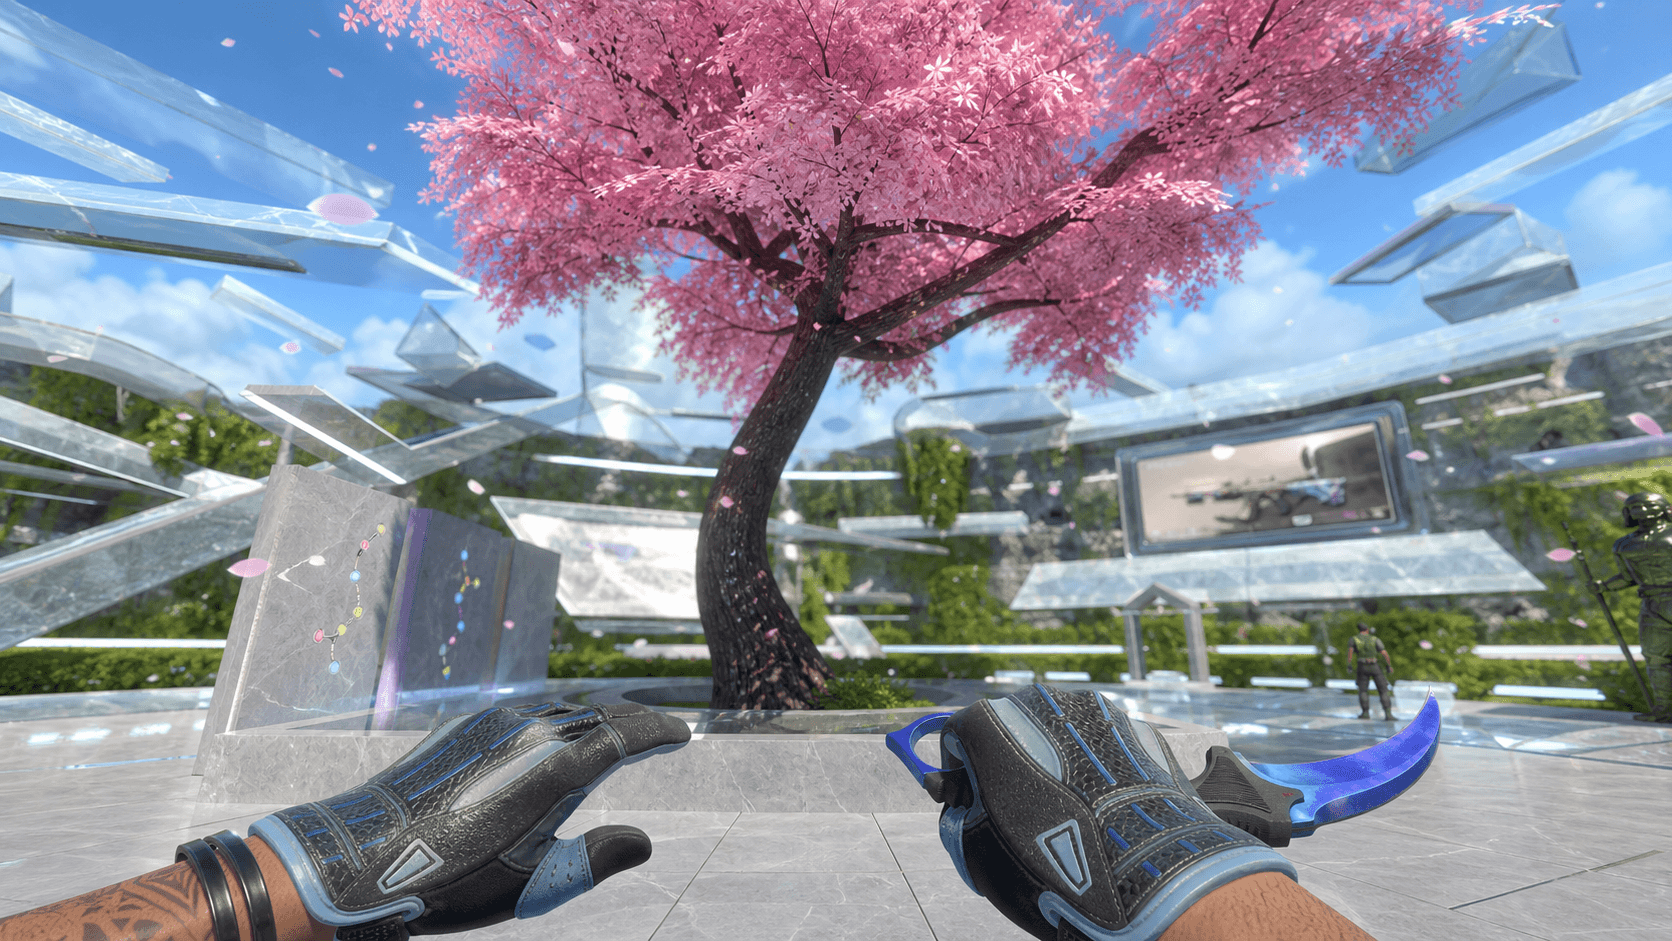
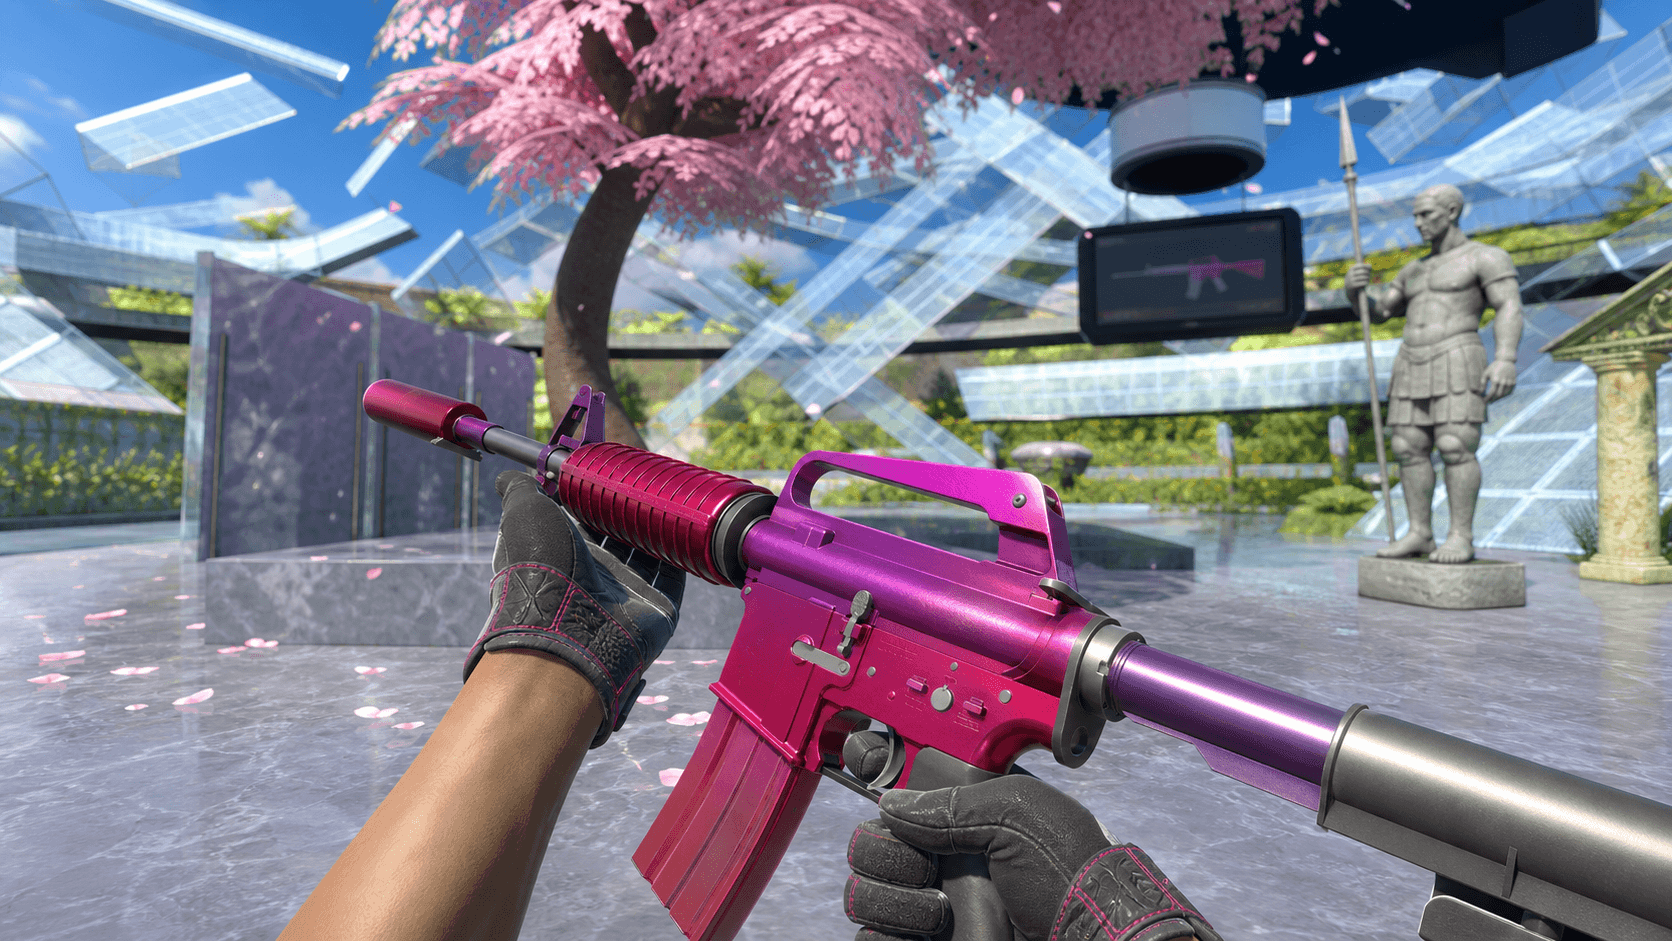
A skin inspect server is a type of community server that lets players see skins they do not own inside the game. These servers generally include special maps, well-lit testing areas, knife-and-glove trial zones, and systems for generating skin codes.
| Method | What does it do? |
|---|---|
!g code | Calls up a specific combination of skin, float, pattern, and stickers. |
!i command | Displays an item from a market or inventory inspect link in the game. |
| Skin test map | Lets you check its appearance under different lighting and against different backgrounds. |
| Knife-and-glove test | Lets you assess animation, color compatibility, and how the items look in hand. |
These systems are not designed to sell you skins; they are used for a visual check before you make a decision.
Preparing Before You Start
Before joining a skin inspect server, CS2 needs to be open, developer console access needs to be ready, and you need to use a trusted server address. You do not need to download random files, install a loader, or enter your Steam password anywhere.
Preparation checklist:
- Open CS2.
- Enable the developer console in the settings.
- Find a trusted skin inspect server or a current server address.
- Prepare an inspect link or skin code for the skin you want to test.
- Use the chat or console commands after joining the server.
Be careful if a website asks for your Steam password, API key, or trade confirmation. There is no need to put your account at risk just to test a skin.
How Do You Connect to a Server?
There are two common ways to join a skin inspect server in CS2. The first is to search through the Community Server Browser. The second is to enter the connect command directly in the console.
Community Server Browser method:
- Open the Community Server Browser from the CS2 main menu.
- Try
skin,inspect,ws,!g, or the server name in the search field. - Choose a server with low ping and a reasonable number of players.
- If the server description provides a command format, make a note of it.
Console method:
connect sunucu-adresiSome popular inspect servers may use special addresses based on the map name. For example, you may see formats such as connect mirage.epidemic.gg in various sources. These addresses can change over time, so it is a good idea to check the current server page before connecting.
Testing a Skin with a !g Code
The most practical method on many skin inspect servers is to use a !g code. This code is generally created through a third-party skin inspect tool. After you choose the skin, condition, pattern seed, stickers, and in some cases a knife-and-glove combination, the tool gives you a command to enter in chat.
The general process is as follows:
- Open a trusted skin inspect tool.
- Choose the weapon and skin you want to test.
- Configure the float, pattern, and sticker options.
- Copy the generated
!gcode. - Paste it into chat on the CS2 skin inspect server.
The command format may vary between servers. Some servers use !g, while others use !gen or another format. It is therefore important to read the instructions inside the server.
The !i Command and Inspect Links
The !i method is more useful when you want to test a real item that you saw on the market or in an inventory. With this method, you obtain the item's Steam inspect link and call it up in the game using the command supported by the server.
Example usage:
!i inspect-linkThis method is particularly valuable for items with a specific float and sticker placement. Two copies of the same skin can look very different in the game because of their float or stickers.
Not every server supports the same command, however. Some servers request the inspect link directly, while others expect you to convert the link into a code with a separate tool.
What Should You Test on the Server?
After joining a skin inspect server, you will get better results if you perform several checks instead of looking at the weapon once and leaving. With expensive items in particular, these few minutes can save you from making the wrong purchase.
Checklist:
- Is the main pattern clearly visible while the skin is in your hand?
- Do float scratches damage an important area?
- Do the stickers cover the logo, character, or main artwork?
- Does the color look too washed out or excessively bright under different lighting?
- Do you like the knife animation and how it matches the gloves?
- Does the weapon still look good while firing and moving?
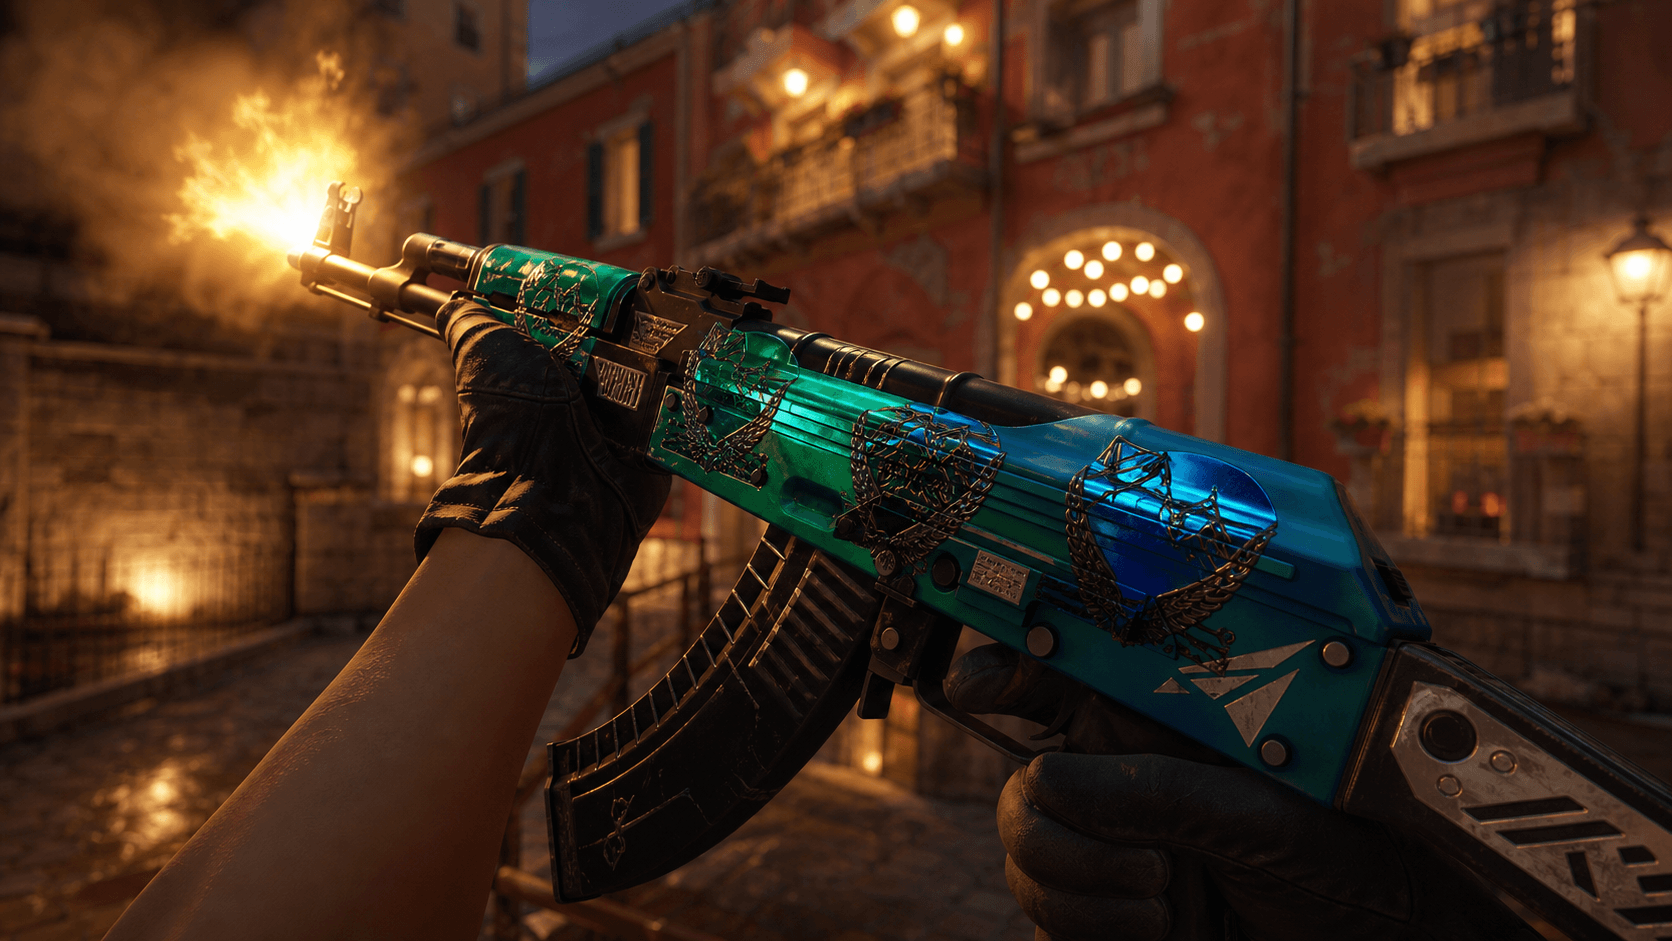
You should not rely on a single screenshot, especially with Doppler, Fade, Case Hardened, Marble Fade, and sticker crafts.
Security and VAC
Using skin commands on a trusted community server is not the same as installing a cheat or external program on your computer. Testing skins through the commands provided by the server is generally an in-game test experience.
The boundary should still be clear: do not download unknown files, run loaders, enter your Steam account details on fake login pages, or click random links in server chat. In most cases, all you need for skin inspection is the server, an inspect link, and a command.
Short security checklist:
- Make sure the Steam login page is on the genuine domain.
- Do not give your API key to websites you do not know.
- Do not install extra files or programs for a server.
- Do not accept trade confirmations under the pretext of a skin test.
- Prefer trusted and established inspect tools.
What Should You Do If It Does Not Work?
If a skin command does not work, first check the server's correct command format. Some servers may use a different prefix instead of !g. The !i command may also return an error if the inspect link is broken or the item is no longer on the market.
Common problems:
| Problem | Possible solution |
|---|---|
| Cannot join the server | The address may have changed, or the server may be full or under maintenance. |
| The command does not work | Check the current format in the server description. |
| The skin does not change | It may be in the wrong weapon slot, or the round may need to restart. |
| The inspect link returns an error | Obtain the link again or try a different item. |
| Ping is too high | Choose a server closer to you. |
Do not force the issue if a server constantly produces errors. Another inspect server or a Workshop alternative may provide a faster solution.
Workshop Map Alternative
If you do not want to join a community server, you can also use Workshop maps. Maps focused on skin testing or inspection are useful for taking screenshots in a quiet environment and comparing different lighting conditions.
The Workshop method is generally more controlled, but it may not always be as flexible as !g. Community servers remain more practical for knife-and-glove animations, real server commands, and examples of other players' crafts.
Conclusion
Joining a CS2 skin inspect server is one of the best ways to test an expensive skin before buying it. You can use the Community Server Browser or console to join a trusted server and try skins in the game with the !g and !i commands.
For the best result, do not look from just one angle. Check the float, stickers, pattern, lighting, animation, and glove compatibility together. A few minutes of in-game testing before buying a skin can help you make a much better long-term decision.